Are you seeking the key to unlocking unparalleled control and insight into your Internet of Things (IoT) projects, all while leveraging the power and affordability of the Raspberry Pi? The Raspberry Pi, a marvel of compact computing, paired with the right remote IoT platforms, can transform how you manage and monitor your devices, offering a level of accessibility and control that was once confined to complex, expensive systems.
This guide navigates the intricate landscape of remote IoT monitoring, specifically tailored for the Raspberry Pi platform. The convergence of these two technologies presents a powerful synergy, enabling users to efficiently manage and monitor various devices and sensors from virtually anywhere in the world. We'll delve deep into the best practices, tools, and techniques, equipping you with the knowledge to build your own IoT monitoring system.
To clarify, the "remoteiot monitoring raspberry pi solution" is not about person. It's about a technological application. The focus is on the system and its setup, not an individual's bio or career. Thus, we will create a table with information related to the technology, its components, and its application.
Below is a comprehensive overview of the key components and considerations involved in implementing a robust remote IoT monitoring system using Raspberry Pi. This table is designed to provide a clear understanding of the essential elements and their functions. You can then leverage this information in your project.
| Component | Description | Functionality | Considerations |
|---|---|---|---|
| Raspberry Pi Model | A small, single-board computer (e.g., Raspberry Pi 3 Model B, Raspberry Pi 4 Model B). | The central processing unit for your IoT project. It runs the operating system and manages connected devices. | Choose a model based on your projects needs (processing power, memory, connectivity). Consider a model with built-in Wi-Fi or Bluetooth if needed. Power requirements should also be carefully considered. |
| Operating System | Typically Raspberry Pi OS (formerly Raspbian), a Debian-based Linux distribution. | Provides the core functionality, including a user interface, system utilities, and support for various hardware and software. | Install the latest version. Consider a lightweight distribution for reduced resource consumption. Regular updates are critical for security and stability. |
| Sensors and Modules | Various sensors to collect data (e.g., temperature, humidity, soil moisture, pressure). Modules for specific functionalities (e.g., GSM, GPS). | Collect data from the environment or connected devices. Provide input for analysis and monitoring. | Ensure compatibility with your chosen Raspberry Pi model and the chosen programming language. Consider power consumption and environmental conditions. |
| Connectivity | Wi-Fi, Ethernet, GSM module (for cellular data). | Enables the Raspberry Pi to connect to the internet or a network for data transmission and remote access. | Choose the best method based on your location and project requirements. Configure network settings correctly. Ensure sufficient signal strength. |
| Remote IoT Platform | Cloud-based or on-premises platform to manage devices and data (e.g., AWS IoT Core, ThingsBoard, Azure IoT Hub). | Provides a centralized dashboard to view, analyze, and control your devices. Facilitates data storage, processing, and visualization. | Research different platforms and their features. Consider the cost, scalability, and security features. AWS IoT Core offers comprehensive tools and easy integration with Raspberry Pi. |
| Programming Language | Python is highly recommended because of its extensive libraries and community support for IoT projects. | Develop code to interact with sensors, process data, and send it to the IoT platform. | Python's libraries simplify sensor integration and data handling. Consider code organization and error handling. |
| Data Storage | Database or data storage solution (e.g., AWS IoT Core, cloud-based databases like DynamoDB, or local storage on the Raspberry Pi). | Stores the data collected from the sensors for historical analysis, trends, and reporting. | Choose a suitable storage method based on data volume, access frequency, and cost. |
| Security Measures | Firewall, secure shell (SSH), strong passwords, data encryption, secure platform configuration. | Protect the system from unauthorized access and data breaches. | Change the default password immediately. Implement firewall rules. Use encryption for data transmission and storage. |
| Monitoring Tools | htop, system logs, IoT platform dashboards. | Monitor the health of the Raspberry Pi (CPU, memory usage) and the data flow. | Regularly check the health of your system components. Set up alerts for critical events. |
For further technical guidance on remote access and security, consult the official Raspberry Pi documentation and security best practices documentation.
Raspberry Pi Official Website
The article will explore a step-by-step approach to setting up a remote IoT monitoring system using the Raspberry Pi. The process involves selecting the right Raspberry Pi model, setting up the operating system, connecting sensors and modules, and finally, choosing and configuring a suitable remote IoT platform. We will delve into the best practices for secure remote access, data handling, and system monitoring, ultimately empowering you to build a robust and reliable IoT solution.
The Raspberry Pi's inherent flexibility, combined with its relatively low cost, positions it as an excellent platform for building a remote monitoring solution. This versatility is further enhanced by the wide range of sensors and modules compatible with the Raspberry Pi, enabling a diverse array of monitoring applications. You can control soil moisture, humidity, pH levels, or even detect bugs. This adaptability makes the Raspberry Pi ideal for projects in smart agriculture, environmental monitoring, and home automation.
One key advantage of using a Raspberry Pi for remote monitoring is its compatibility with a wide range of sensors and modules. This allows you to collect data from various sources, such as temperature sensors, humidity sensors, and more. Additionally, the Raspberry Pi supports multiple operating systems, providing you with the flexibility to choose the one that best suits your needs. This allows you to customize your system to fit your specific monitoring requirements. By leveraging free tools and platforms, you can gain valuable insights into your devices without incurring additional costs.
Remote access to your Raspberry Pi is critical for IoT projects. You can directly connect to a Raspberry Pi behind a firewall from anywhere as if it was on the local network. It is also easy to send commands and batch jobs to your Raspberry Pi from a web portal. With this ability, you eliminate the need to discover the device's IP address or change any firewall settings. To establish secure remote access, consider the following steps:
- Choose the right Raspberry Pi Model: Selecting the appropriate Raspberry Pi model is a crucial first step. Consider factors like processing power, memory, connectivity options (Wi-Fi, Ethernet), and the number of GPIO pins required for your sensors and modules. The Raspberry Pi 4 Model B is often recommended for its processing power and connectivity features.
- Install the Operating System: Download and install the Raspberry Pi OS on an SD card. The Raspberry Pi Imager tool simplifies this process.
- Enable SSH: This will allow you to remotely access your Raspberry Pi. Ensure SSH is enabled. For security reasons, it's vital to change the default password immediately.
- Configure Network Settings: Ensure your Raspberry Pi has a static IP address or a reserved IP address on your network.
- Secure Your Raspberry Pi: It's critical to change the default password immediately to a strong and unique one to prevent unauthorized access. Implement security measures like firewalls and data encryption.
- Choose a Remote Access Method: There are several methods for remote access, including SSH, VNC, or using a cloud-based remote access service.
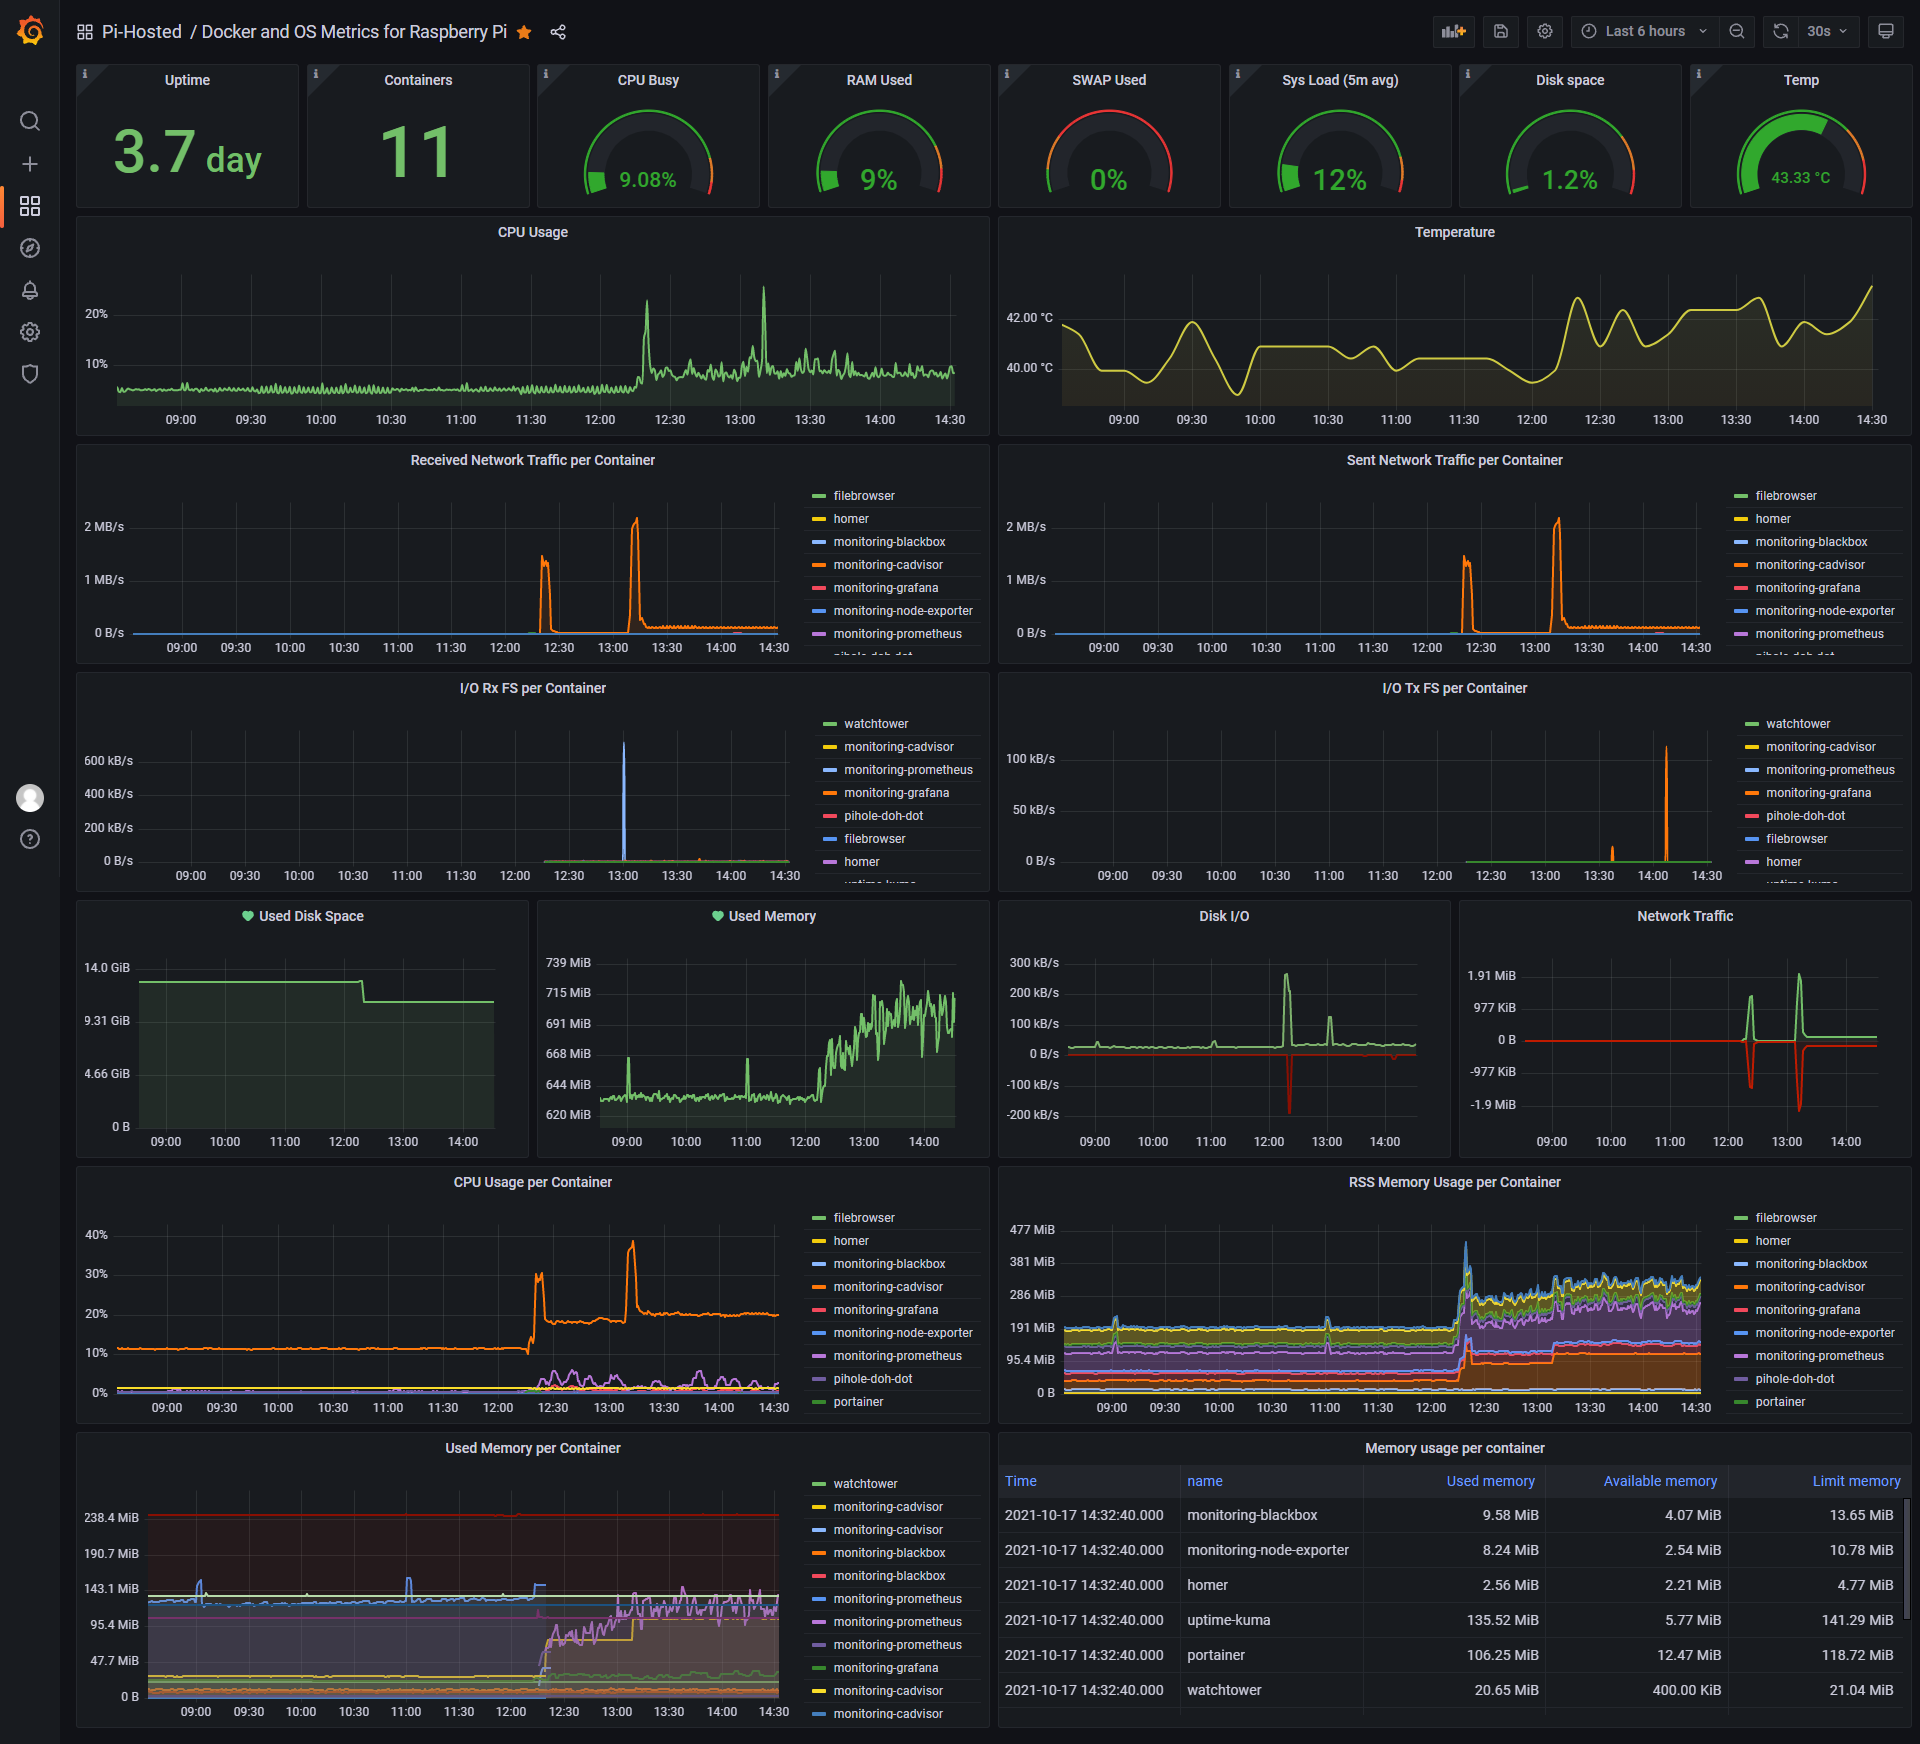
Monitoring CPU and GPU temperatures is also crucial as it can guarantee the best performance of your IoT devices. You can use tools like htop to monitor the health of your Raspberry Pi. Htop allows you to view resource usage (CPU, memory) in real-time.
By integrating a Raspberry Pi with remote IoT monitoring systems, you can efficiently manage and monitor various devices and sensors from anywhere. This guide dives deep into the world of Raspberry Pi and its applications in remote IoT monitoring, providing expert insights, practical tips, and actionable advice to help you make an informed decision.
For example, a Raspberry Pi comes with a default username pi and the password raspberry for SSH access. It is critical to change the default password to a strong and unique one as soon as possible to prevent unauthorized access.
Practical Applications and Examples
Consider some applications and examples to illustrate the versatility of remote IoT monitoring with a Raspberry Pi:
- Smart Home Automation: Use Raspberry Pi to control lights, appliances, and temperature, and monitor sensor data remotely.
- Environmental Monitoring: Deploy sensors to monitor air quality, weather conditions, and other environmental parameters in remote locations.
- Industrial Monitoring: Monitor the performance of machinery and equipment in factories and other industrial settings.
- Smart Agriculture: Implement soil moisture monitoring, environmental control, and automated irrigation systems.
Best Practices
These guidelines ensure the optimal performance and health of your Raspberry Pi for seamless remote management:
- Choose the Right Model: Select the Raspberry Pi model that fits your project's requirements, considering processing power, memory, and connectivity needs.
- Secure Your System: Change the default SSH password immediately. Implement firewall rules, and use encryption for data transmission and storage.
- Monitor System Health: Regularly monitor the Raspberry Pi's performance using tools like htop. Watch CPU and memory usage.
- Implement Regular Updates: Keep the operating system and software up to date.
- Optimize Power Management: Ensure the power supply is sufficient for the Raspberry Pi and connected devices.
- Document Your Setup: Maintain clear documentation of your system's configuration, including IP addresses, passwords, and sensor configurations.
Setting up a remote IoT monitoring system with Raspberry Pi is easier than you might think. The key is to understand the components, select the right tools, and follow best practices for security and monitoring. Follow these steps to get started:
- Choose the right Raspberry Pi model for your project.
- Install the operating system (e.g., Raspberry Pi OS).
- Connect the necessary sensors and modules.
- Enable SSH and change the default password.
- Choose and configure a remote IoT platform or remote access method.
- Set up your Raspberry Pi, connect your sensors, and start exploring the world of remote IoT monitoring.
By following these steps and implementing best practices, you can build your own IoT monitoring system and unlock new possibilities for innovation and efficiency. The applications of a Raspberry Pi based IoT system are vast and ever-growing. From monitoring a patient's heartbeat and temperature to developing a complete home automation system, the possibilities are endless.
And dont forget to leave a comment below to share your experiences or ask questions. If you want to stay in the loop for more tutorials and updates, be sure to.
Also consider these useful articles on raspberry pi:
- Setting up a Raspberry Pi for an IoT project;
- OTA software updates for your Raspberry Pi;
- Memory requirements for your Raspberry Pi.
This guide walks you through everything you need to know about setting up and managing remote IoT monitoring using SSH on Raspberry Pi. You will be able to directly connect to a Raspberry Pi behind a firewall from anywhere as if it was on the local network. You can send commands and batch jobs to a Raspberry Pi from a web portal.